If you’ve just started camping, you may be a little overwhelmed by the choice in camping food, cooking stoves and cooking techniques. This post will try to break down the options, to help you make easier decisions on cooking equipment and food planning.
First, I’ll consider the different types of camping. The type of trip you are planning will have a big influence on your food needs and your limitations will change accordingly.
A meal plan for a family weekend car camping usually looks quite different to a six day backpacking trip in the mountains.
Contents
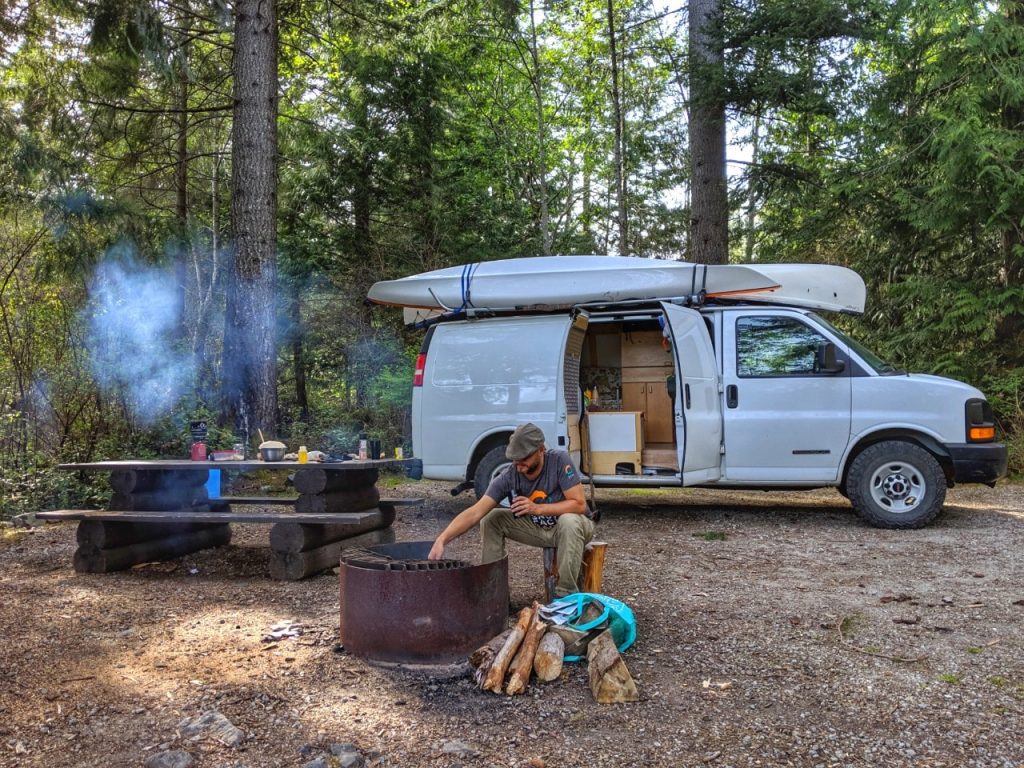
Car Camping
This is the easiest camping food situation, with the possibility of fresh fruit, vegetables, meat and even some cold drinks to accompany it all. You:
- Don’t have to take weight in consideration
- Probably have at least a cooler or even a 12V fridge
- Will be cooking on a double camp stove or even a propane BBQ
- Have access to all the utensils you could fit in your car
- Will likely do some campfire cooking, even if it is just s’mores and wieners
Canoe and kayak camping
This is one step down from the car camper in terms of ease and space . You:
- Don’t have to carry your food really far but your cooler space is a lot more limited
- Might still have some fresh food but a lot less as it probably won’t last the length of your trip
- May have a propane campstove or backpacking stove
- Probably won’t cook on a campfire, unless you catch a fish or pick up some fresh shellfish
Bike camping
On a bike, it is possible to carry heavier items than on a backpacking trip but space is still limited. You:
- Have a compact yet efficient cooker and utensils in your panniers
- May have a mixture of dehydrated and freeze dried food complimented by some fresh food
- Might have access to grocery or convenience stores along your journey for resupply
Backpacking
Carrying everything on your back *unless you have a Sherpa!), multi-day hiking trips present the biggest restrictions on camping food. You:
- Have a lightweight cooking stove, minimal pots and simple cooking utensils
- Eat mainly dehydrated, freeze dried or cured food to keep it as light as possible
- Carry as little food packaging as possible alongside all of your day/night gear
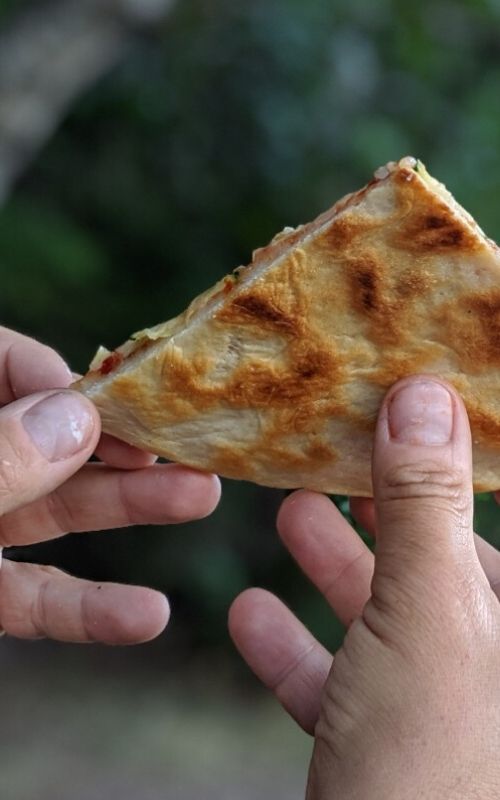
Choosing appropriate camping food
Depending on what kind of camping you will be doing, you will probably decide to bring different types of food with you. All of these food will be more of less nutritious and have different advantages that you might want to consider.
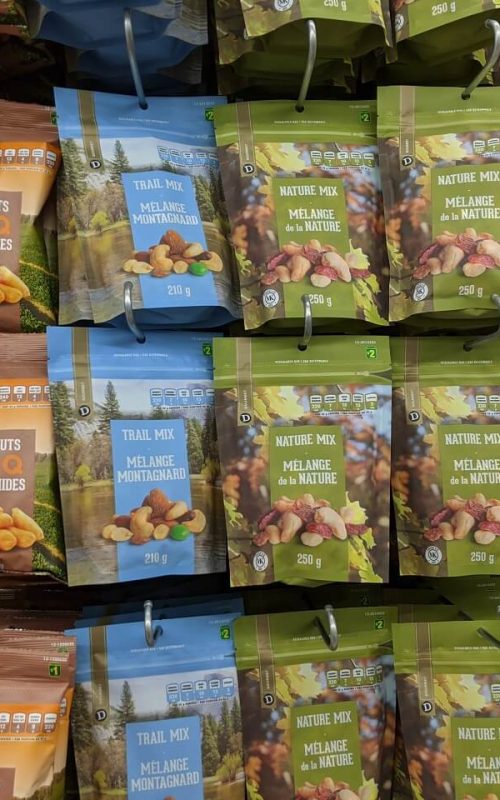
Fresh food
In this category, you will find meat and vegetable produce and freshly prepared meals.
Shelf life will be short and items have to be stored at an appropriate temperature for them not to spoil. These foods will have the most nutrition and usually taste better. The short shelf life and refrigeration requirements make fresh produce more appropriate to car camping.
Pros
- Still has most of its nutrients
- Easily available
- Tends to be cheaper
Cons
- Short shelf life
- Usually requires some preparation
- Refrigeration or cold storage necessary for some items
- Generally high weight to calorie ratio
Dehydrated food
As the name says, this food has been dehydrated. Most of the water content has been taken out of this food. This will keep your food light in weight and help your food shelf life, about 1 week to 3 months depending on the ingredient.
Dehydrating is surprisingly easy to do at home and therefore accessible to most people. There are a few downside to dehydrated food. You will lose some nutritious value (like vitamin C) and some of the taste will also be lost in the process.
Pros
- Lightweight
- Long shelf life
- Easy to make at home
- If made at home, you have control you the recipe
Cons
- Some nutritional value lost
- Lost of taste and texture
- Can be time consuming if making it at home
- Might require cooking and long rehydrating time
Freeze dried food
Freeze dried food is a relatively new way of taking care of food, compared to dehydrated food. The technology involves freezing the food and drying it under vacuum.
Compared to the dehydration process, the food loses a lot less nutrients and has a texture more similar to its original form. In addition, freeze dried food has a very long shelf life and will cook faster than regular dehydrated food. On the downside, this is not something you can easily recreate at home and pre-made freeze dried can be quite expensive.
Pros
- Lightweight
- Has a texture and taste closer to fresh food
- Long shelf life
- Less nutritional value lost
- Easy and fast cooking
- Often cooked in provided pouch by just adding water
Cons
- Can’t be made at home
- You have less, if not, no control on recipes
- Can be expensive to buy
- Usually can to be bought online or at outdoor stores only
- Have to pack out bulky freeze dried food meal packages
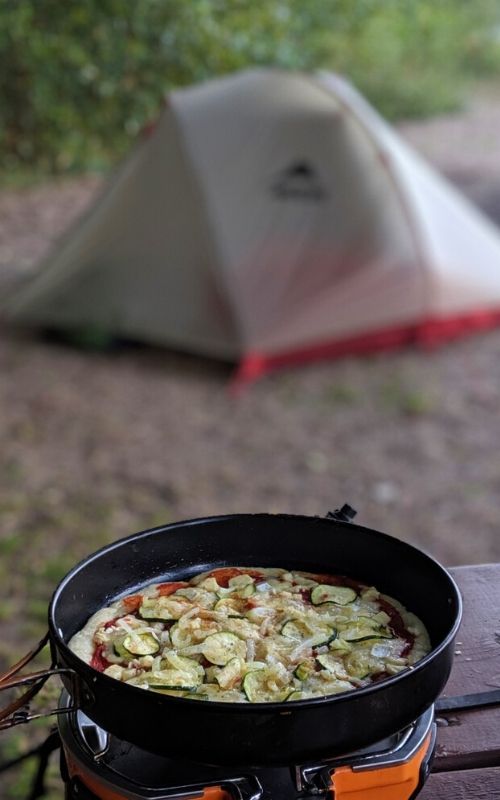
Cooking stoves
Unless you are going for a no cook meal you will need some kind of cooking stove to make your meals.They will vary in size and shape but the biggest difference will be the fuel used to produce the heat needed to cook your meals. Here is a short rundown of the type of stove you might want to use.
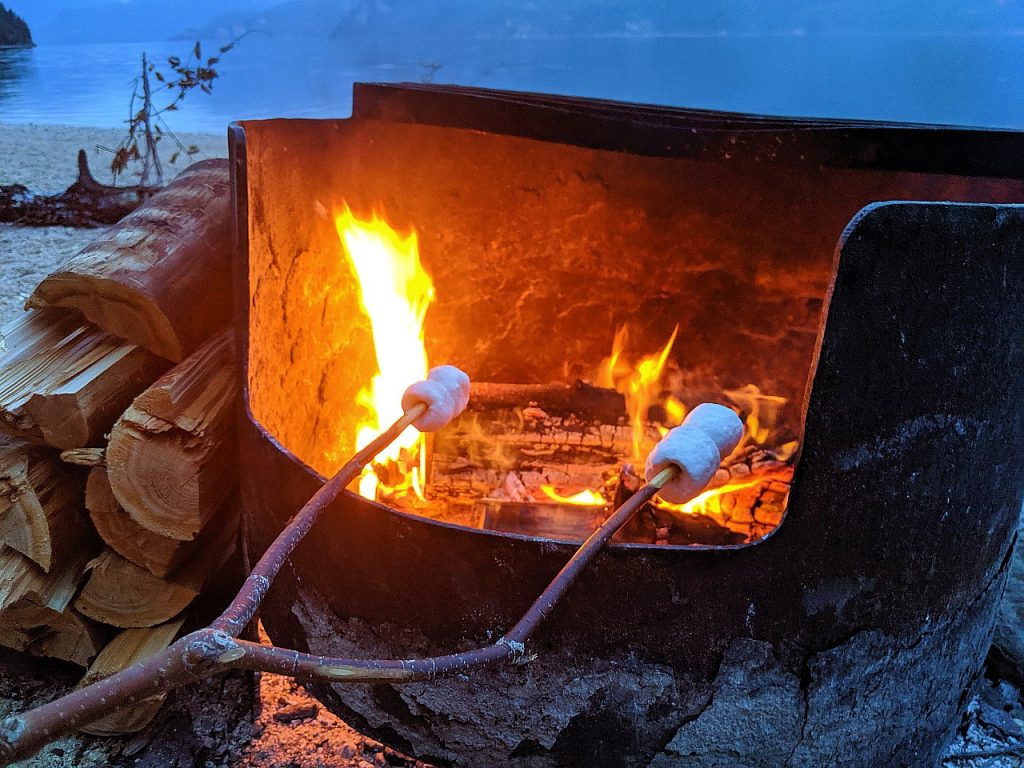
Fire pit
This is the most basic way of cooking. It was used since the discovery of fire and still used around the world now. Often the campfire is the central point of a campground where people can chat and have a drink.
Some campgrounds will have a fire pit with an integrated grill which will allow you to have a kettle of warm water for your tea and coffee, grilling some meat and do some basic frying and simmering with the right equipment.
In more rustic campsites, it may be a good idea to bring your own BBQ grill. Alternatively, you could use wooden sticks to cook food on.
Pro
- Adds flavour to your food
- Provides a central cooking area in campground
- Keeps you nice and warm
- Keeps the mosquito away
- Can find fuel (wood) easily if needed
Cons
- Might not be allowed fire during fire bans or restricted areas like provincial or national parks backcountry
- Bad weather or wet wood can make starting a fire a challenge
- Smoke can be an inconvenience
- Pots and pans might melt with the high heat
- Can be dirty
BBQ
Barbecues are a favorite for the car camper. Unless you have a truck or a trailer, a smaller BBQ may be a good option for you. There are 2 main types of BBQ – wood and propane.
Wood charcoal BBQ can take quite a bit of time to be ready and requires a bit of skill to cook your food properly. This BBQ will give a tasty smoke flavour similar to campfire cooking.
Propane BBQs are a lot quicker and cleaner than charcoal equivalents. The propane gas tank is usually easy to find at any corner store (unless you have a smaller BBQ requiring a 1 pound tank), being most often sold with 20 pound of propane. The taste will be a lot less smoky (unless you use smoking wood chips) but it’s a quick and simple way to enjoy outdoor food.
Pros
- Can be used during fire ban
- Easier than cooking on campfire
- Cleaner that campfires (or charcoal BBQ if using propane)
Cons
- Can be messy (especially if using charcoal)
- It takes a long time to warm up
- Can be bulky and heavy
Camping stove
These stove mimics the home gas stove. It will have one or multiple hub and some will even have a flat cast iron grill incorporated in the design.
The most popular type of gas for the type of stove is propane. Unless you have an adapter for the bigger 20 pound tank, most small propane camping stoves will require a 1 pound tank. The 1 pound propane tank is very common in most big gas stations and home stores in Canada.
Butane stoves are probably the second most popular car camping stove variety after propane. They are lightweight and easy to use. The butane canister can be a little bit harder to find than propane.
The third variation uses naptha rather than butane or propane. Naptha stoves are higher maintaince and less easy to use than the other camping stoves mentioned. If you are looking to cook in the mountains, however, the stove will be more efficient at altitudes or in colder temperates.
Pros
- Easy and similar to cooking at home
- Smaller than BBQ
- Clean, fast cooking
Cons
- No campfire flavour
- Some fuels can be difficult to get
- Small fuels tanks means more garbage
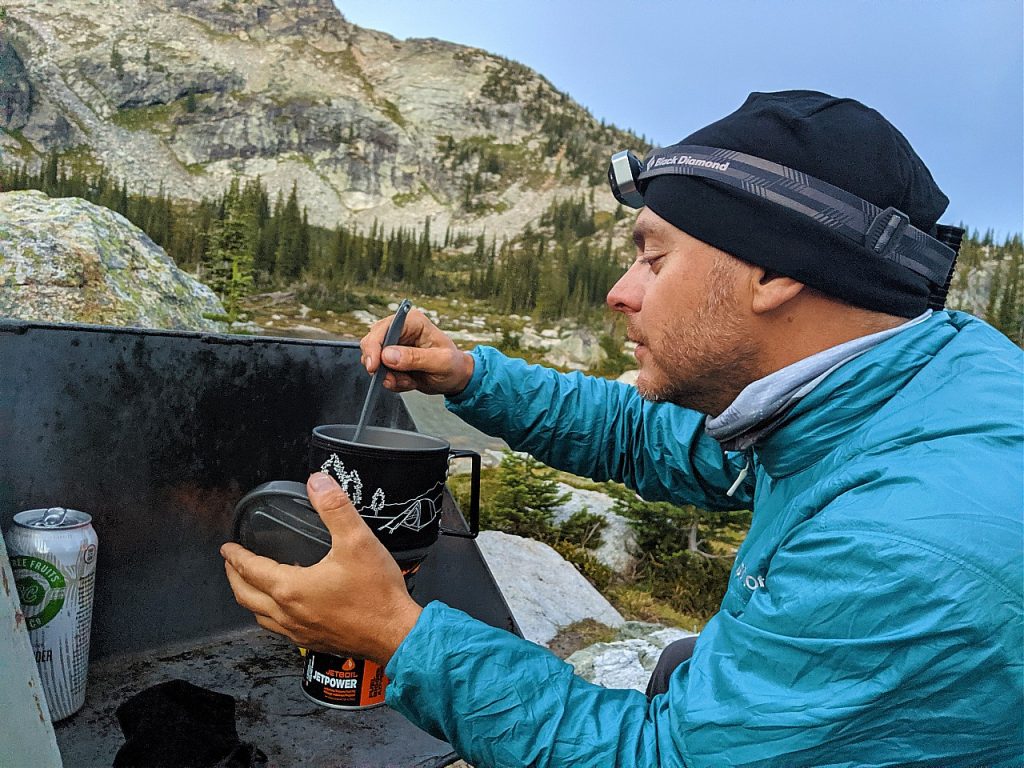
Backpacking stoves
Backpacking stove are lightweight compact one burner stoves, appropriate to carry in a backpack.
The smallest backpacking stoves use isobutane gas. Fuel canisters come in 3 sizes – 3.5 oz, 6 oz and 12oz. While these stoves are lightweight and easy to use, their performance is effected with cold weather or at higher elevations.
Liquid fuel stoves are very versatile, though are larger and heavier than isobutane stoves. They will still work well at higher elevations or in the cold. The fuel canisters are refillable so you know exactly how much fuel you are carrying.
Some liquid stoves are multi fuel compatible making them ideal for use in remote areas where isobutane or white fuel is not available. This system does need some maintenance to make sure it performs properly but this can be done on trail as well as at home.
Pros
- Lightweight
- Small and portable
- Multi fuel option (on liquid stove) makes it versatile
Cons
- Only one burner
- Can be difficult to cook on
- Isobutane canisters are difficult to recycle
Water while camping
When it comes to camping, lacking safe drinking water can quickly become an issue. We all know that we need water to survive and it is not a subject to take lightly. When it comes to safe water while camping, there are quite a few options.
Bring your own water
Bringing your own water is often the cheapest and easiest thing to do for short trips. You can buy water from a grocery store or get a water container and transport the water to your camping site. That way you are sure that the water is safe to drink.
This might become a problem if you need large amount of water or if you need to carry your water over a certain distance.
Pros
- Certainty of having safe and clean water
- Cheap (if taken from a drinking tap)
Cons
- Limited to your water container
- Heavy to carry
- Bulky
Using a water filter
There are many filters out on the market that will take care of filtering particles, bacteria and viruses. These filter usually will filter a low volume of water and might require some elbow grease to pump the water through the filtration device (unless it is gravity fed)
Pros
- Portable
- Usable with any water source
- Will take care of particles
Cons
- Filter can get clogged, break or stop working
- Can take a long time to get large amount of water
- Requires some manual work to fill and process
- Some filters will NOT treat viruses (not an issue in Canada, luckily)
Chemical purification
It is possible to use chemicals to sanitise water. Iodine drops or purification tablets are two of the most used methods. The main drawbacks of using chemicals is, of course, that the water will taste of the chemical and there is no particle filtration.
Pros
- Very small and light weight
- Will take care of viruses as well as bacteria in water
- Will always work (if used according to instructions and not expired)
Cons
- Leaves a bad taste in the water
- Expensive choice when considering dollar to treated water ratio
Ultraviolet light
Ultraviolet light has been in use for decades to provide drinking water in cities. Some companies are now selling portable ultraviolet systems. These are light, small and practical but the fact that you rely on electronics and batteries can make it unreliable in certain situations. This system will also not filter the water.
Pros
- Small
- No chemical taste
- Fairly quick to work (usually a couple of minutes for one litre of water)
Cons
- Relies on batteries and technology to work
- Unless filtered, the water will have particles present