Tortillas are a staple for many backpackers. Besides being the perfect vehicle for so many different types of food, they also hold up incredibly well to a bit of backpack bashing! The flat shape make them easy to pack too.
Available to buy almost everywhere (gas stations and dollar stores included), tortillas are a reliable staple when planning a multi-day hiking menu. But believe it or not, making your own tortillas is almost as easy as buying them! And homemade tortillas taste a lot more fresh and flavourful.
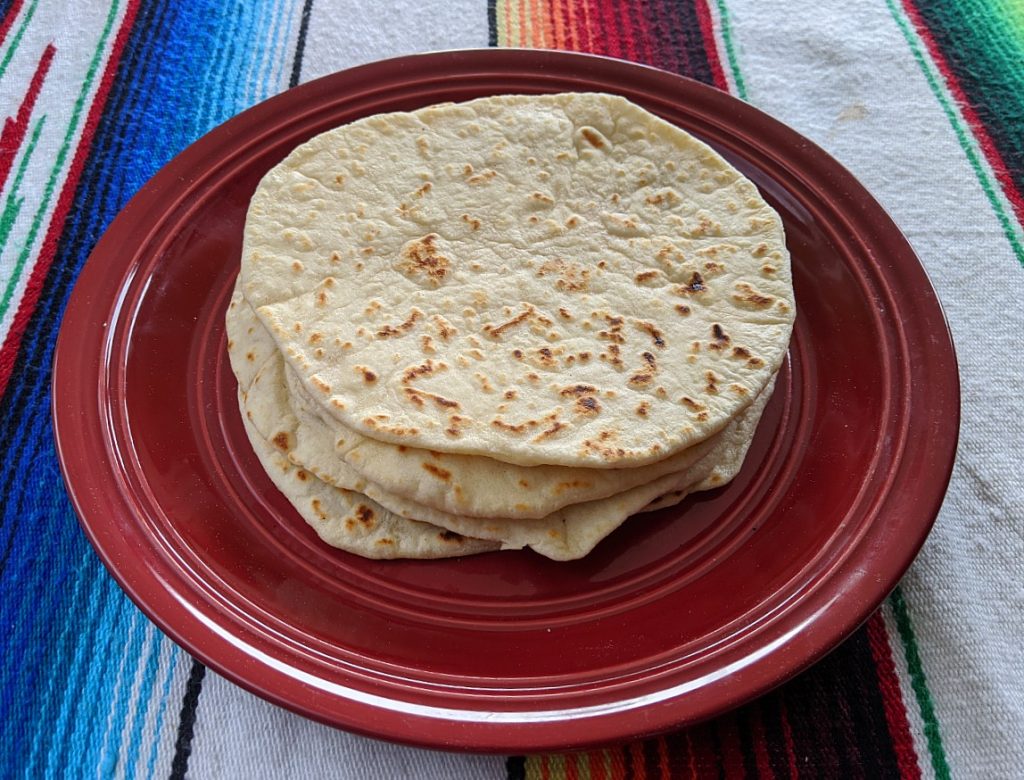
Homemade tortillas have so many uses out on the trail. You can dip them into hummus, fill with your favourite sandwich fillings, create a simple pizza and more.
This recipe is so simple that you can even make fresh tortillas on your next car camping trip! There’s nothing better than eating freshly made tortillas, still warm from the pan. Read on to discover how to make easy, homemade flour camping tortillas.
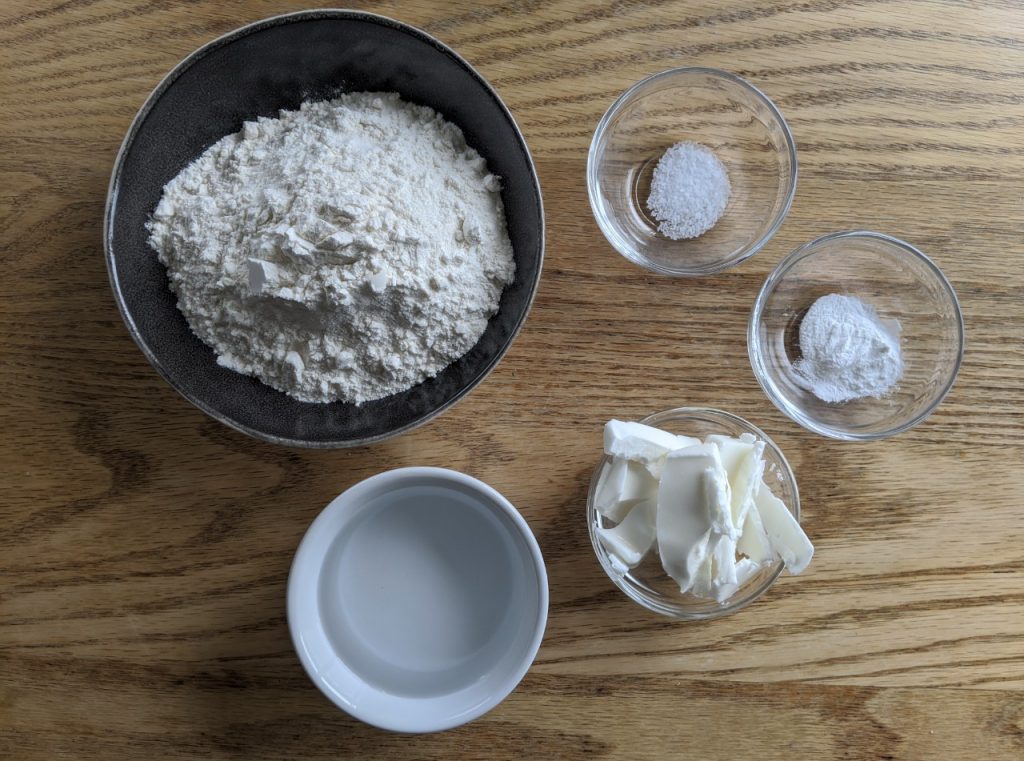
Just five ingredients
This flour camping tortilla recipe only has five ingredients, all of which are available at any grocery store. There’s no tortilla press or other equipment needed either, so you can make them your campsite if desired.
The essential ingredients for these homemade flour tortillas are:
- Flour
- Fat (shortening in this recipe)
- Baking powder
- Salt
- Water
And that’s it! These five ingredients make the softest and tastiest homemade tortillas, perfect for your next camping or multi-day hiking trip. If you’re a baker, then you may notice that the ingredients are very similar to a standard pie crust.
I chose to use shortening in this recipe as it is cheaper and suitable for vegans as well as vegetarians. Butter or lard could also be used.
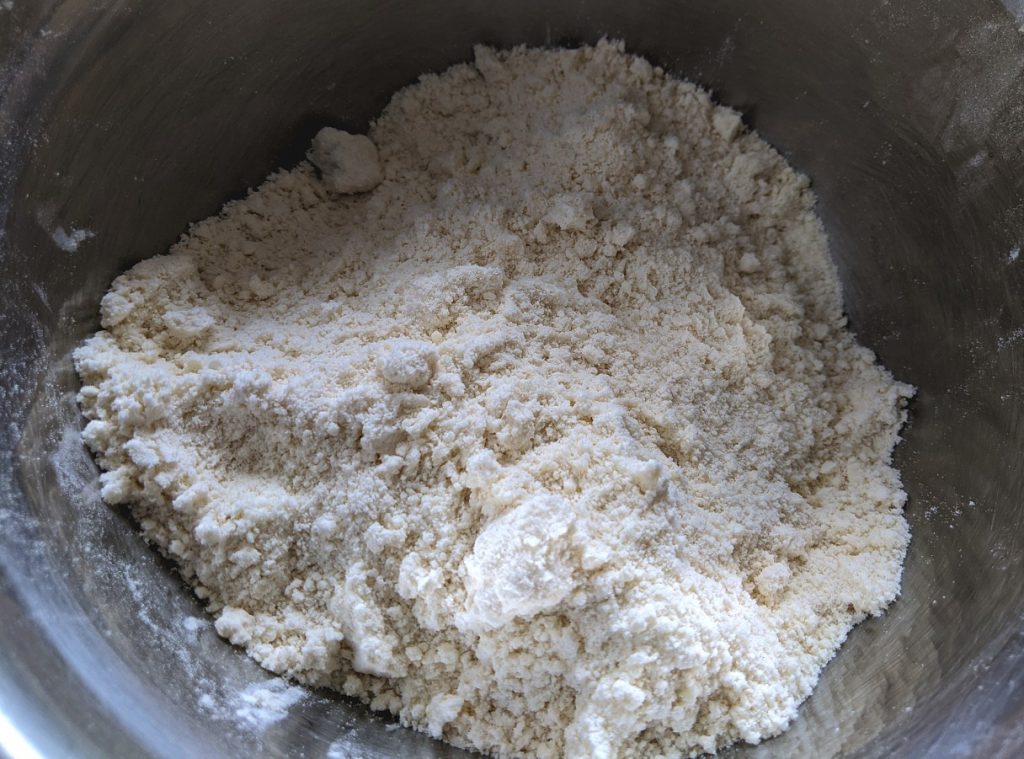
Making the flour camping tortilla mix
After combining your dry ingredients (flour, salt, baking powder), you need to incorporate the shortening into the flour mixture. Before doing so, cut the shortening into cubes and then refrigerate for up to 30 minutes. This helps the shortening from melting too fast.
Rub the flour mix between your fingers and lightly crush the lumps of shortening. At this point, you don’t want to create a dough immediately. Instead, look for a granulated texture.
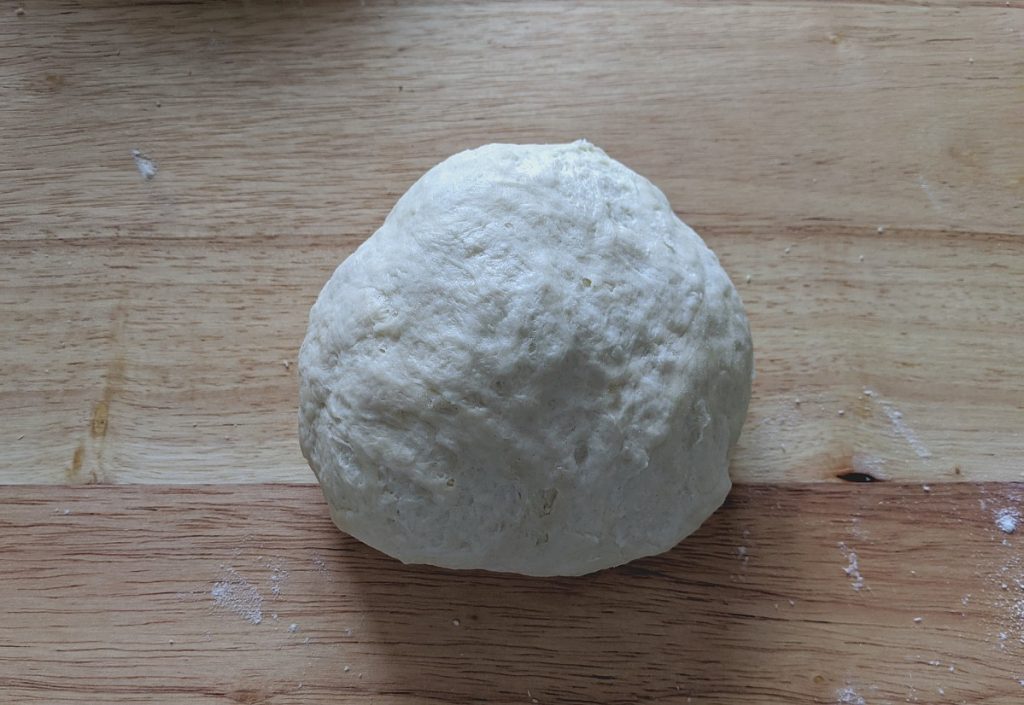
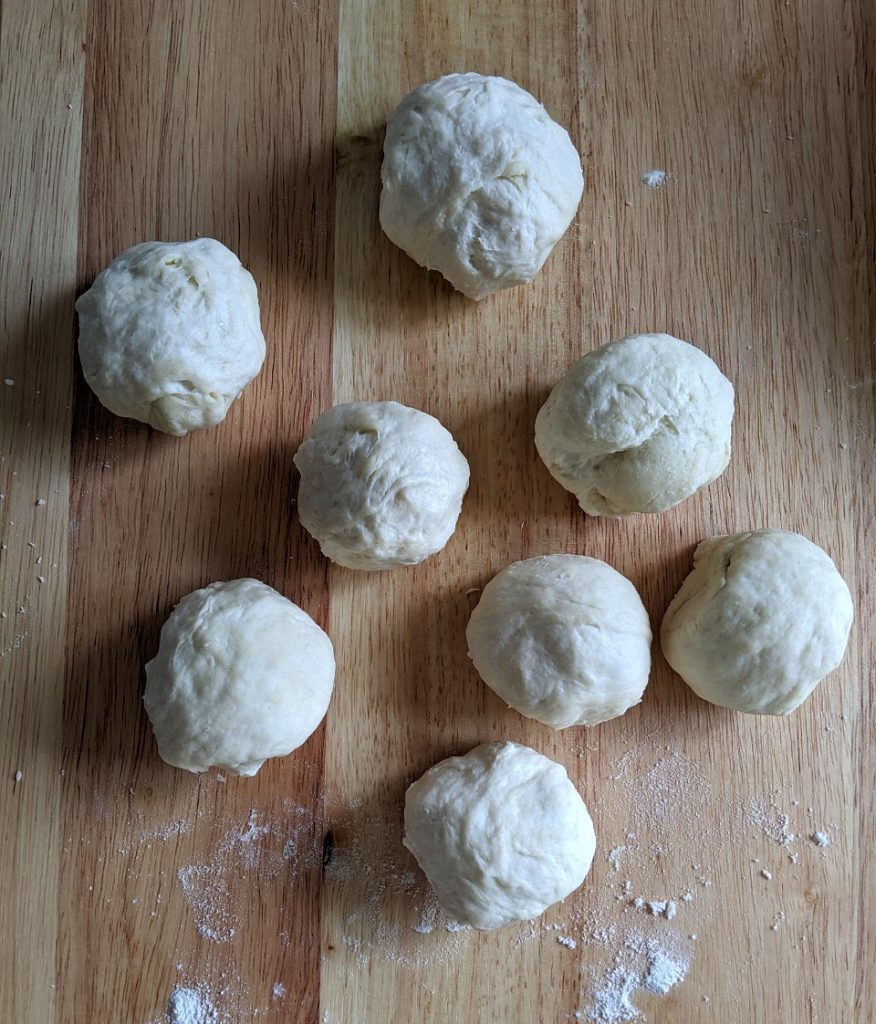
Add the water and stir. A dough will quickly form. Knead the dough for about a minute and then divide into 8 pieces.
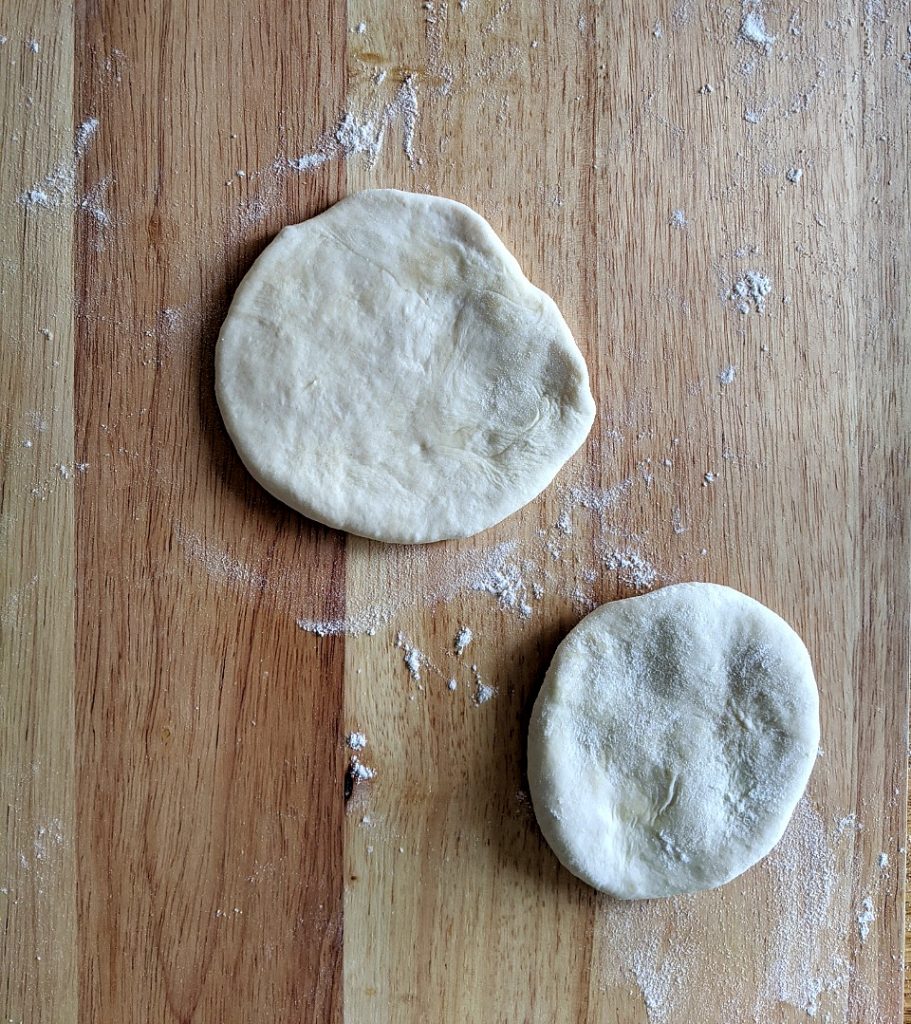
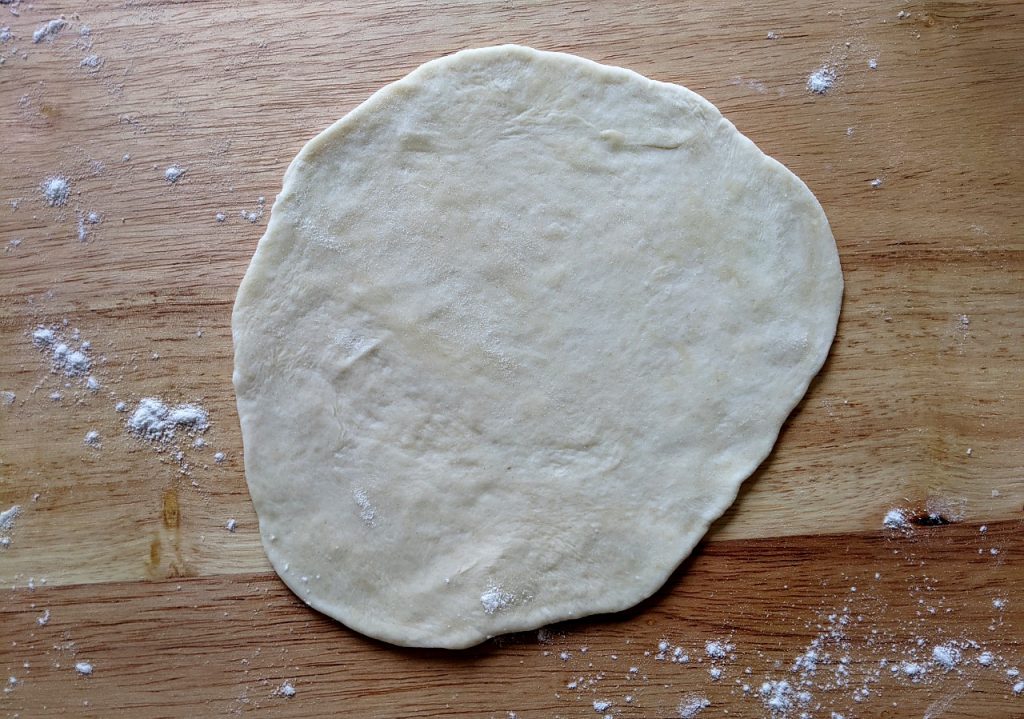
Flour your working surface lightly and flatten the dough ball with your palm. Keep flattening until the disk is flat and about 1 to 2mm in thickness.
Cooking the camping tortillas
It is time to cook your tortillas! There’s no need to grease the frying pan (skillet) before using but it does need to be hot before adding the first tortilla.
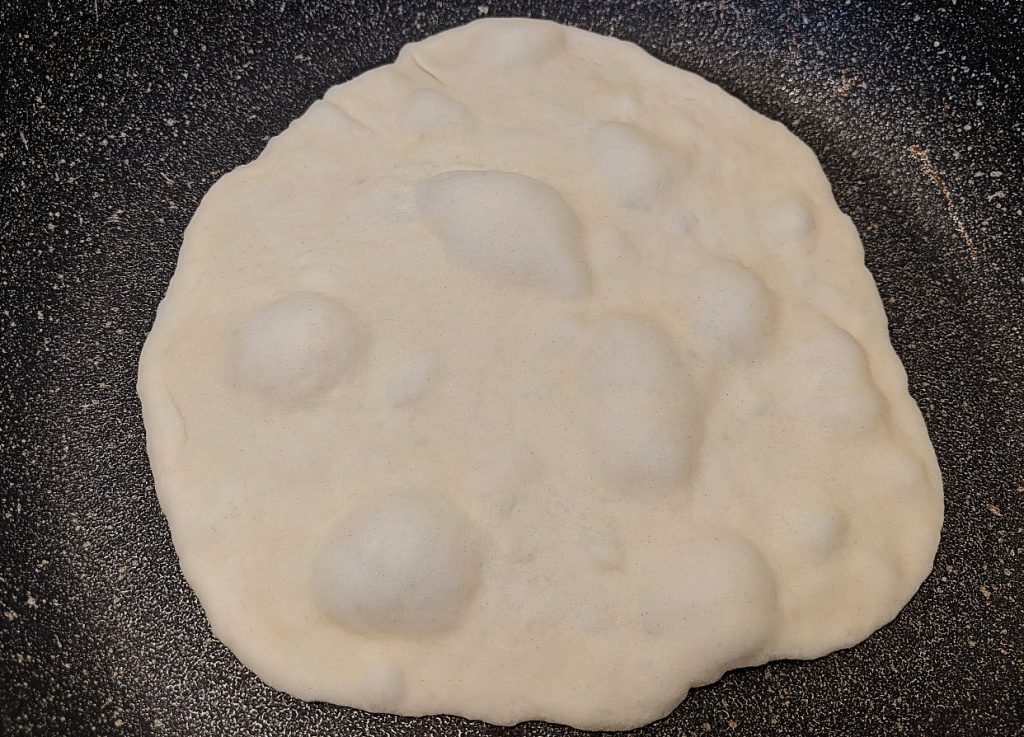
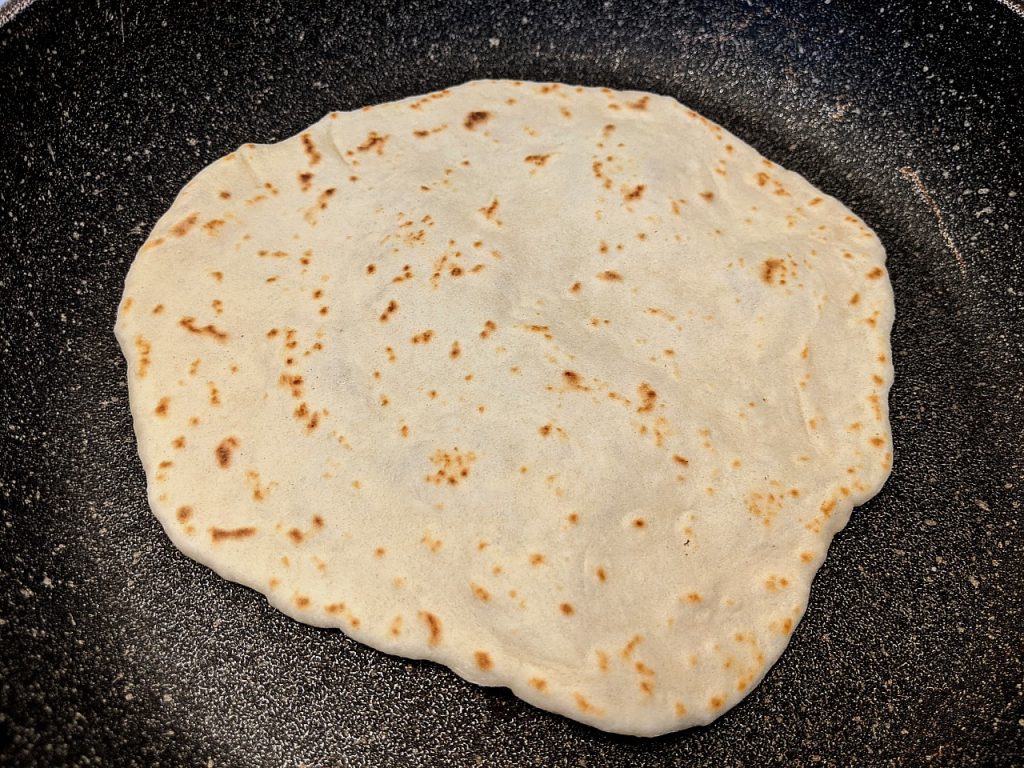
The hot, dry surface of the pan will cook each side of the tortilla in about 30 seconds. You will know when it is time to flip your homemade tortilla when you see the dough bubbling.
Once cooked on both sides, take the tortilla out of the pan and wrap in a clean tea towel. Cook the next tortilla and then stack on top of the first. This helps to keep them warm and moist.
Essential tips for making homemade camping tortillas
While this recipe and preparation method remain incredibly simple, there are a couple of tips that will help with success when making these camping tortillas:
- The water should be warm, to help the dough come together quickly
- When flattening the dough, keep in mind that the tortillas will rise a little while waiting to be cooked
- If desired, you could use a rolling pin to ensure that the tortillas are the same thickness. I prefer the rustic look!
- Make sure the frying pan is hot before cooking the first tortilla
- This recipe results in small tortillas (like a 6 inch store bought size). Double the recipe amount for large tortillas
How to store your homemade flour tortillas for camping
Once completely cool, you can take the tortillas out and store them in a resealable plastic bag (such as a Ziploc). At room temperature, they will last about a week. If your backpacking trip is later in the summer, you could freeze these homemade tortillas for use later.
There are so many ways to utilise these tortillas while backpacking or camping. The most straightforward method is to pack the tortillas in a Ziploc and bring accompaniments (cheese, meat, peanut butter, hummus etc) separately.
Alternatively, you could prepare the tortillas with a filling (classic burrito fillings or otherwise) shortly before leaving on your trip. This works best if you plan to eat them as one of your first meals. Otherwise, the tortilla may become soggy.
Reheating homemade tortillas
If you have the option and feel the need (warm tortillas are SO good!), you can reheat these flour tortillas very easily.
The most straightforward option for reheating is to use the same method as when you cooked them – 30 seconds on each side in a pan. At home or in an RV, you could also put them in the microwave for 15-20 seconds inbetween two damp paper towels.
If you don’t have a pan and stove to hand, a campfire offers an alternative solution. Simply place the tortilla on the campfire grill or prop next to the coals with a rock.
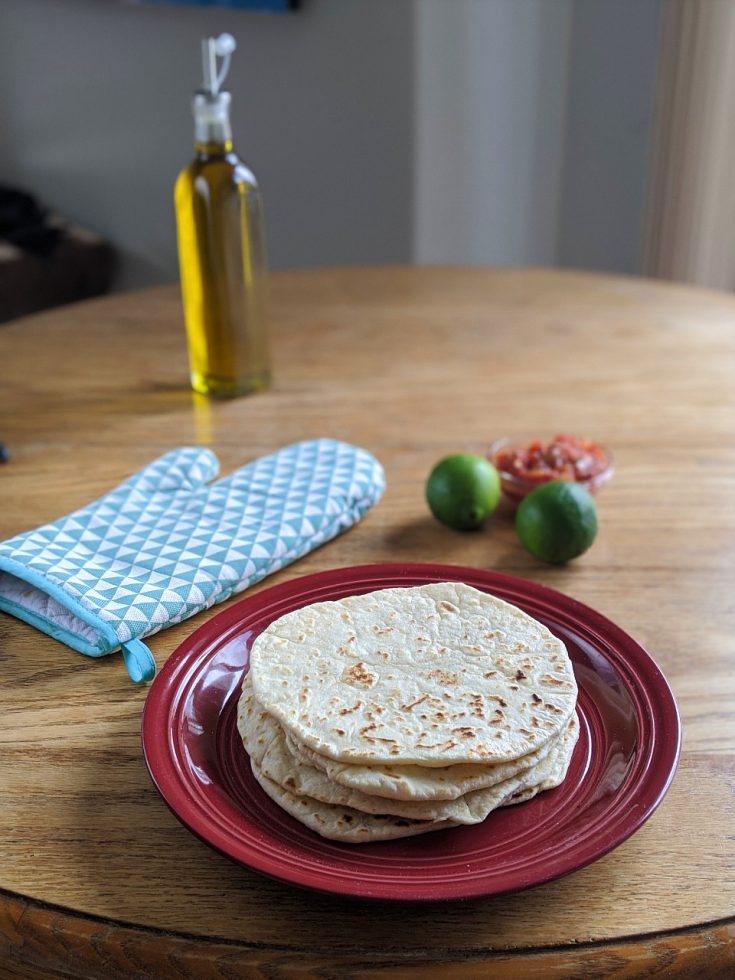
Homemade Flour Camping Tortillas
Fluffy home made flour tortillas, perfect for camping or backpacking trips
Ingredients
- 2 cup flour
- 1/4 cup shortening
- 1 tsp baking soda
- 1/2 tsp salt
- 3/4 cup water
Instructions
- Add all dry ingredients together in a bowl and mix well
- Rub shortening in flour until lumps disappear
- Add water, mix and knead dough for one minute
- Make a ball, divide into 8 pieces and shape individual balls
- Flatten each ball to 1-2mm in thickness
- Heat a pan or skillet and cook one side of each tortilla for 30 to 45 seconds or until dough puffs up
- Keep warm in a kitchen towel while cooking remaining tortillas
- Let tortillas cool down completely before storing
